Writing Your First Scripts
So far you've placed controls and navigated between cards. Now it's time to make things actually happen. In this lesson you'll learn how HyperXTalk's messaging system works, how to write handlers, how to use variables, and how to find and fix mistakes using the Message Box and Debugger.
- Understand how HyperXTalk's message-passing system works
- Write handlers that respond to user actions
- Use local and global variables to store data
- Use the Message Box to test commands interactively
- Use the Debugger to step through a script line by line
📨 Handlers and Messages
Everything that happens in HyperXTalk starts with a message. When you click a button, HyperXTalk sends a mouseUp message. When a card opens, it sends an openCard message. When a key is pressed, it sends a keyDown message.
A handler is a block of script that responds to a message. It starts with on messageName and ends with end messageName. Everything in between is the code that runs when that message arrives:
Common Messages
mouseUp — fired when the mouse button is released over a control. The most common button handler.
mouseDown — fired the moment the mouse button is pressed down.
mouseEnter — fired when the mouse moves over a control.
mouseLeave — fired when the mouse moves away from a control.
openCard — fired when a card is navigated to. Useful for initialising a card's content.
openStack — fired when the stack is first opened.
keyDown — fired when a key is pressed. The key that was pressed is passed as a parameter.
Multiple Handlers in One Script
A control can have many handlers in its script — one for each message it wants to respond to. They sit one after another in the Script Editor:
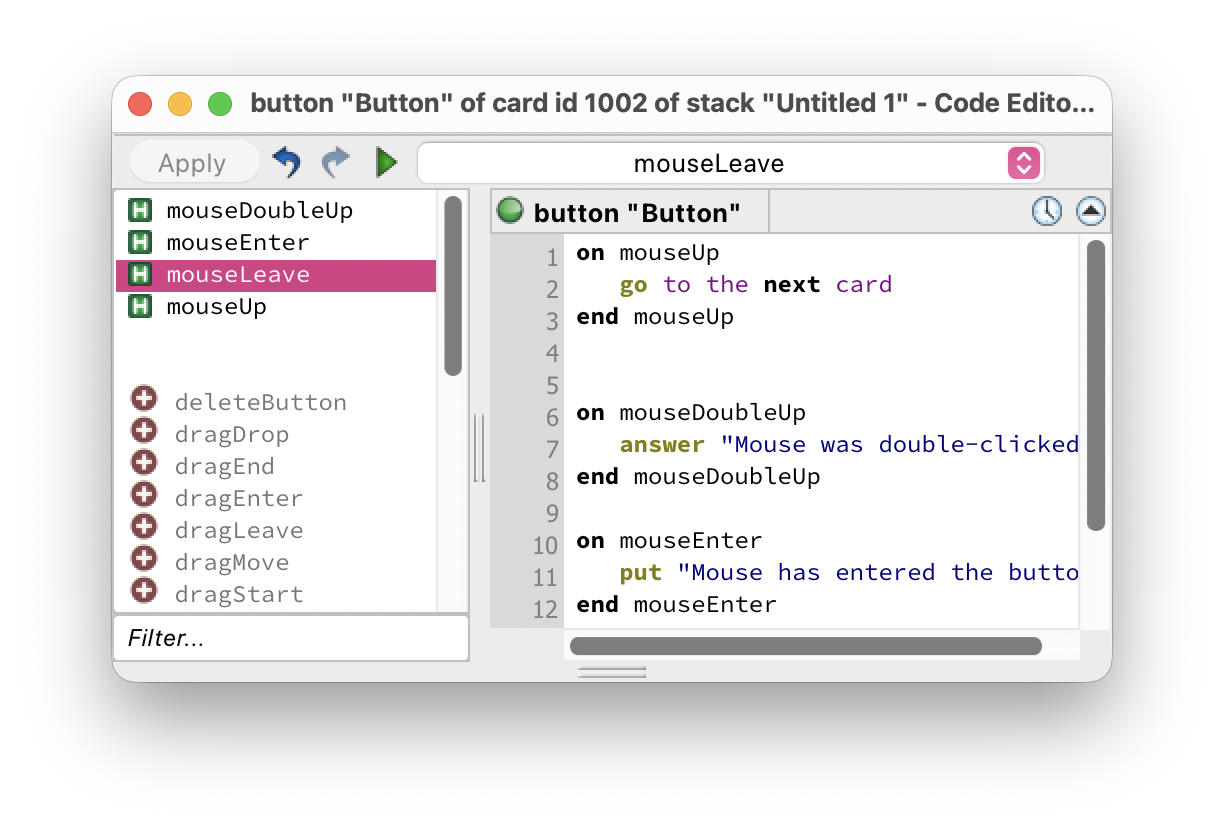
The left panel of the Script Editor lists all the handlers in your script. Click any handler name to jump straight to it — very useful when scripts get longer.
Sending Your Own Messages
You can also send messages yourself using send. This lets one handler trigger another, or call custom handlers you've written:
resetForm makes it much easier to read, test, and reuse. This is one of the most important habits to develop as a scripter.
✏️ The Script Editor
To open the Script Editor for any control, right-click it in Edit mode and choose Edit Script.
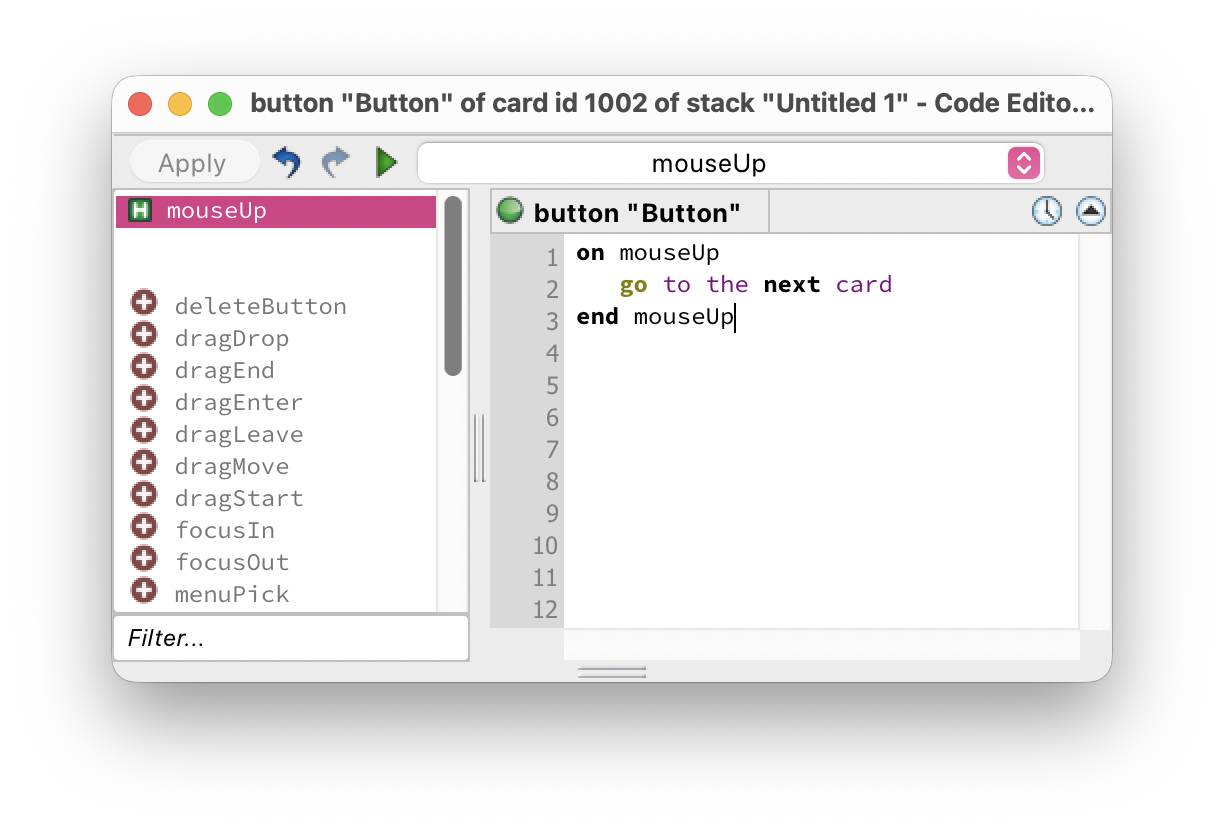
The Script Editor has two panels. The left panel lists all the handlers in the script and lets you add new ones. The right panel is where you write and edit your code. When you're done, click Apply to save your changes.
📦 Variables
A variable is a named container for storing a value. In HyperXTalk you don't need to declare variables before using them — just assign a value and start using it:
Local Variables
By default, variables in HyperXTalk are local — they only exist while the handler is running. When the handler finishes, the variable and its value disappear. Local variable names conventionally start with t (for "temporary"), like tName or tCount.
Global Variables
Global variables persist for the lifetime of the running stack, and can be read and written by any handler in any script. You must declare a global variable before using it in each handler with the global keyword:
t (e.g. tResult), global variables start with g (e.g. gScore). This makes it immediately obvious which type of variable you're looking at.
💬 The Message Box
The Message Box is one of HyperXTalk's most useful tools. It lets you type and run any HyperXTalk command instantly, without writing a full handler. Open it from the toolbar or by pressing Cmd+M (macOS) or Ctrl+M (Windows/Linux).
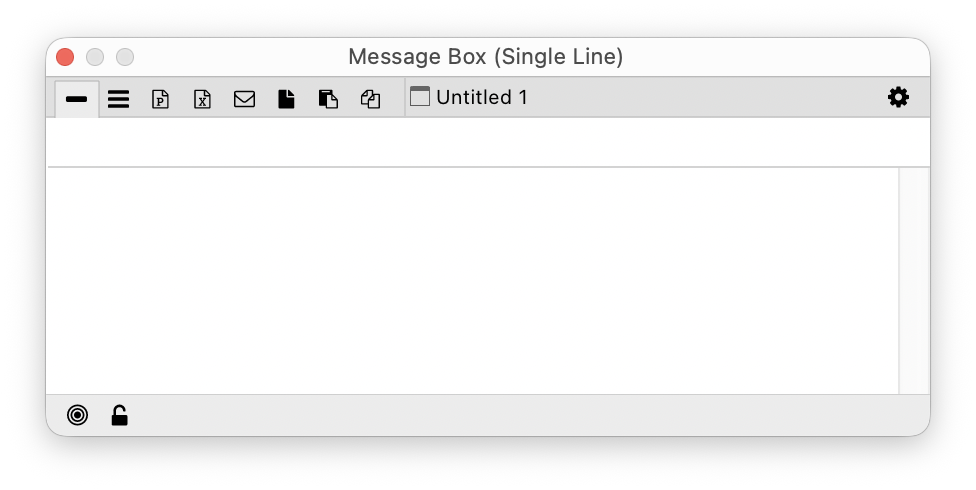
Some things you can do in the Message Box:
The result of a put command appears in the Message Box itself. This makes it an excellent scratchpad for testing ideas before adding them to a real handler.
🐛 Debugging
When a script doesn't work as expected, the Debugger helps you find out why. It lets you pause execution and step through your code one line at a time, watching exactly what happens at each step.
To start debugging, click the play button in the Script Editor toolbar while the script is open. The Debugger will pause on the first line and highlight it:
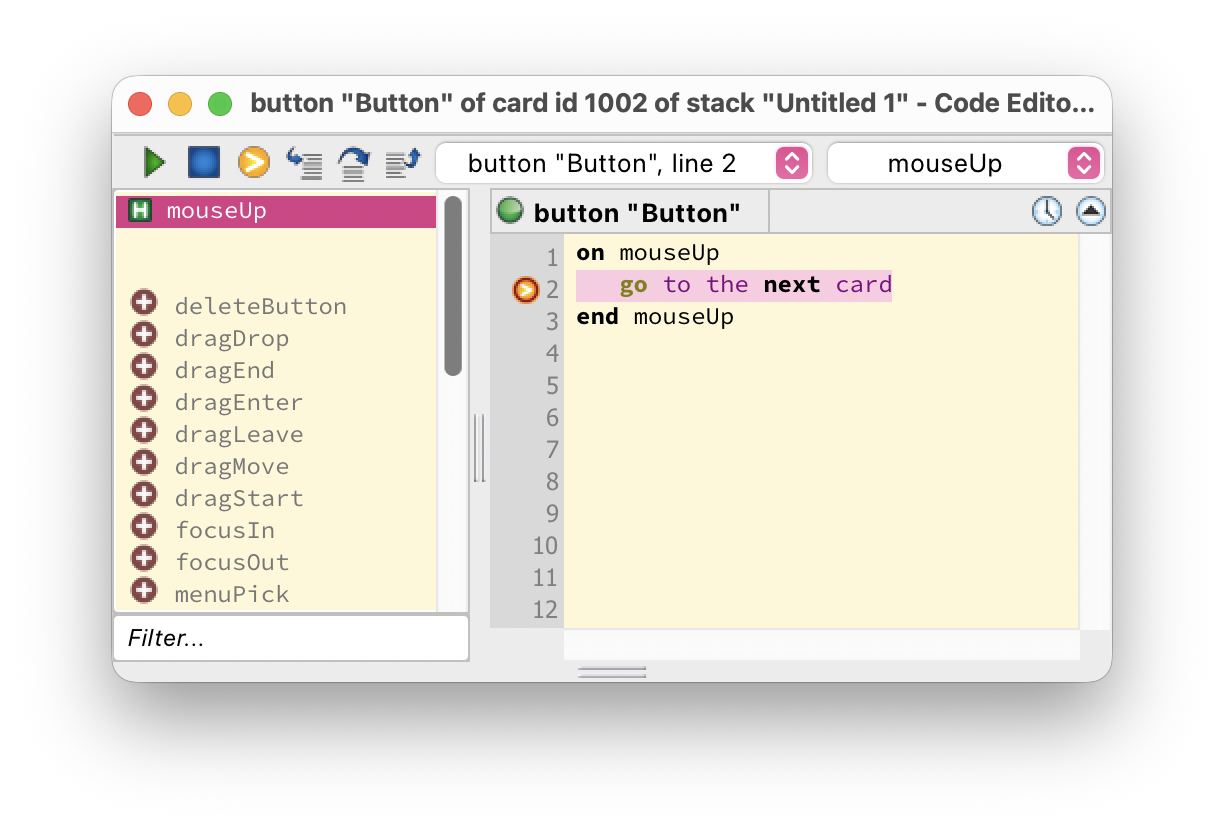
The Debugger toolbar buttons let you:
Step Over — run the current line and pause on the next one.
Step Into — if the current line calls a handler, step inside it.
Step Out — finish the current handler and return to the caller.
Run — continue running until the script finishes or hits a breakpoint.
Stop — halt execution immediately.
put tMyVariable and the value will appear. This is one of the most powerful debugging techniques in HyperXTalk.
In this exercise you'll build a simple score tracker that uses a global variable to keep score across button clicks. Click any thumbnail to enlarge it.
-
Create a new stack. Add a Label with the text
Score Tracker, a Field namedScoreDisplaywith Lock text enabled, and two buttons: one namedAddPointlabelled+ Pointand one namedResetScorelabelledReset. -
Right-click the + Point button and edit its script. Add the following handler:
on mouseUp global gScore add 1 to gScore set the text of field "ScoreDisplay" \ to "Score: " & gScore end mouseUp
Script Editor
-
Edit the Reset button script:
on mouseUp global gScore put 0 into gScore set the text of field "ScoreDisplay" \ to "Score: 0" end mouseUp
- Switch to Browse mode and test it — click + Point several times and watch the score climb. Click Reset to set it back to zero.
-
Open the Message Box (
Cmd+M/Ctrl+M) and typeput gScoreto see the current value of the global variable.
Message Box
Bonus challenge: Add a third button labelled - Point that subtracts 1 from the score but never lets it go below zero. Hint: you'll need an if statement — something to look forward to in Lesson 4!
mouseUp) or a card opening (openCard). A handler is a block of script that responds to a specific message, beginning with on messageName and ending with end messageName.global keyword in each handler that uses it.put command: put "Hello" into tGreeting. You can also use add, subtract, multiply, and divide for arithmetic directly on variables.