Introduction to HyperXTalk
Welcome to HyperXTalk! In this first lesson you'll learn what HyperXTalk is, what makes it different from other programming environments, and you'll create your very first working application. No prior programming experience is needed — just curiosity and enthusiasm.
- Understand what HyperXTalk is and what you can build with it
- Know the difference between a stack, a card, and a control
- Create a new stack and add controls to a card
- Write and run your first HyperXTalk script
📖 Theory
What is HyperXTalk?
HyperXTalk is a development environment — a tool for building software applications. What makes it special is its scripting language, which is designed to read like plain English. Instead of writing cryptic symbols and brackets, you write things like:
This philosophy comes from HyperCard, Apple's legendary 1987 software that allowed ordinary people — not just programmers — to build real applications. HyperXTalk carries that torch into the modern era, running natively on macOS, Windows, and Linux.
What Can You Build?
HyperXTalk can build almost any kind of desktop application — database tools, educational games, inventory management systems, creative tools, calculators, quiz applications, and much more. You can also build and distribute standalone applications that your friends and family can run without installing HyperXTalk.
🃏 Stacks and Cards
Every HyperXTalk application lives in a stack. Think of a stack as a project file — it contains everything your application needs. Stacks are saved with the .hyperxtalk file extension.
Inside a stack are one or more cards. Cards are like the pages of a book, or the screens of an app. A simple calculator might have just one card; a more complex app might have many. You navigate between cards using go to the next card, go to card "Settings", and similar commands.
🎛️ Controls
Controls are the building blocks you place on a card to create your interface. HyperXTalk includes a rich set of controls:
Buttons — Clickable elements that trigger scripts. The most common way to make things happen.
Fields — Areas for displaying or entering text. Can be single-line or scrolling multi-line fields.
Labels — Static text displayed on the card, often used for headings and instructions.
Images — Pictures displayed on the card.
Groups — Collections of controls that can be moved and managed together.
Each control has a set of properties — name, size, position, colour, font, and more — that you can set visually in the Property Inspector, or programmatically in a script.
✍️ Your First Script
A script is a set of instructions you write to make something happen. In HyperXTalk, scripts are attached to controls and cards. When something happens — a button is clicked, a card is opened, a key is pressed — HyperXTalk sends a message to the relevant control or card, which can then respond by running a handler.
Here's what a button's script might look like:
on mouseUp — begins the handler. mouseUp is the message sent when the button is clicked and released.
ask "What is your name?" — displays a dialog asking the user to type something. The result is stored in a special variable called it.
if it is not empty then — only continues if the user actually typed something.
set the text of field "Greeting" to ... — puts the greeting into a field named "Greeting". The & operator joins pieces of text together.
end if and end mouseUp — close the conditional and the handler.
-- are comments. HyperXTalk ignores them — they're notes for anyone reading the code. Getting into the habit of commenting your scripts is excellent practice.
Now it's your turn. Follow these steps to build your first HyperXTalk application. Click any thumbnail to enlarge it.
-
Open HyperXTalk and go to File → New Stack. Save it as
Greeting.hyperxtalk. You'll see a blank card like this: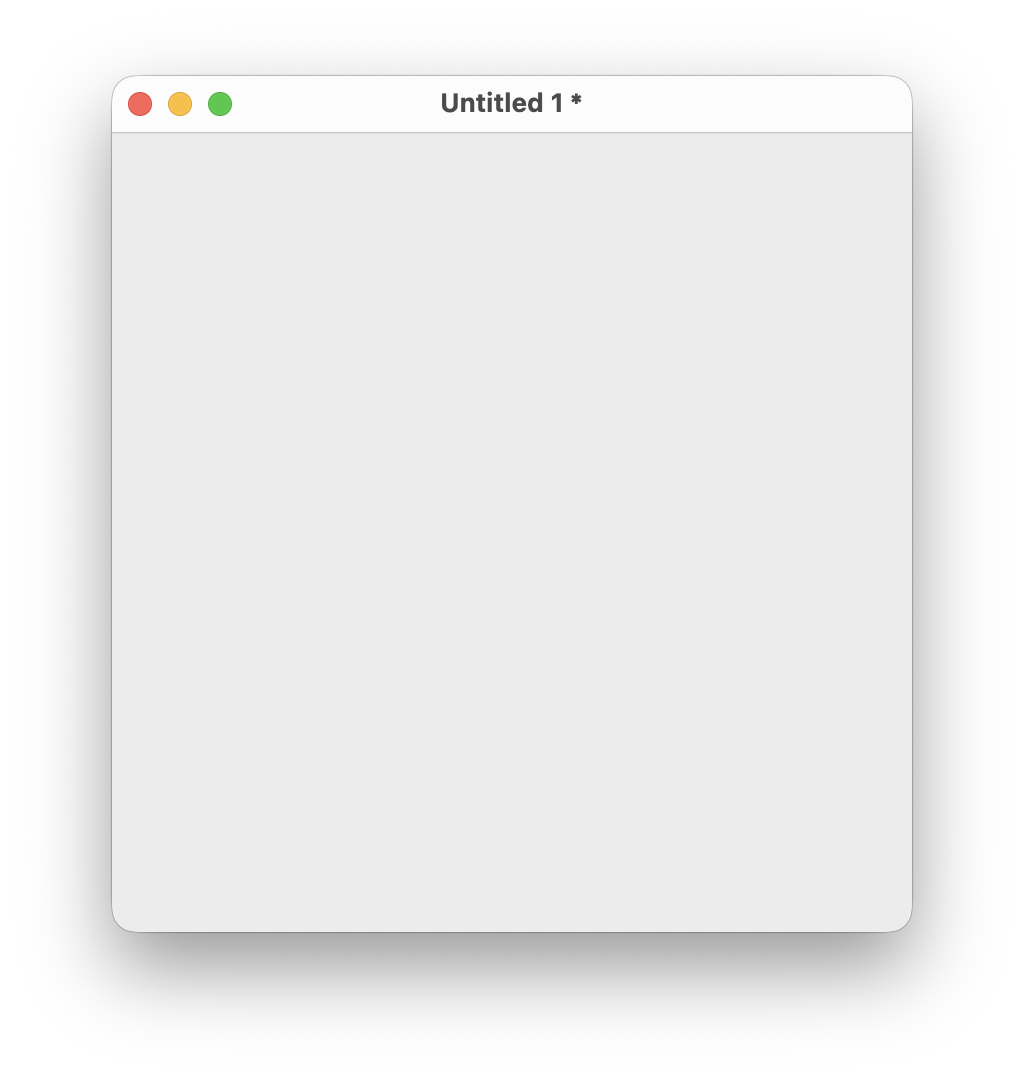 Fig. 1 — Blank stack
 -
Go to Object → New Field. Drag it to the centre of the card and resize it. Double-click to open the Property Inspector and name it
Greeting: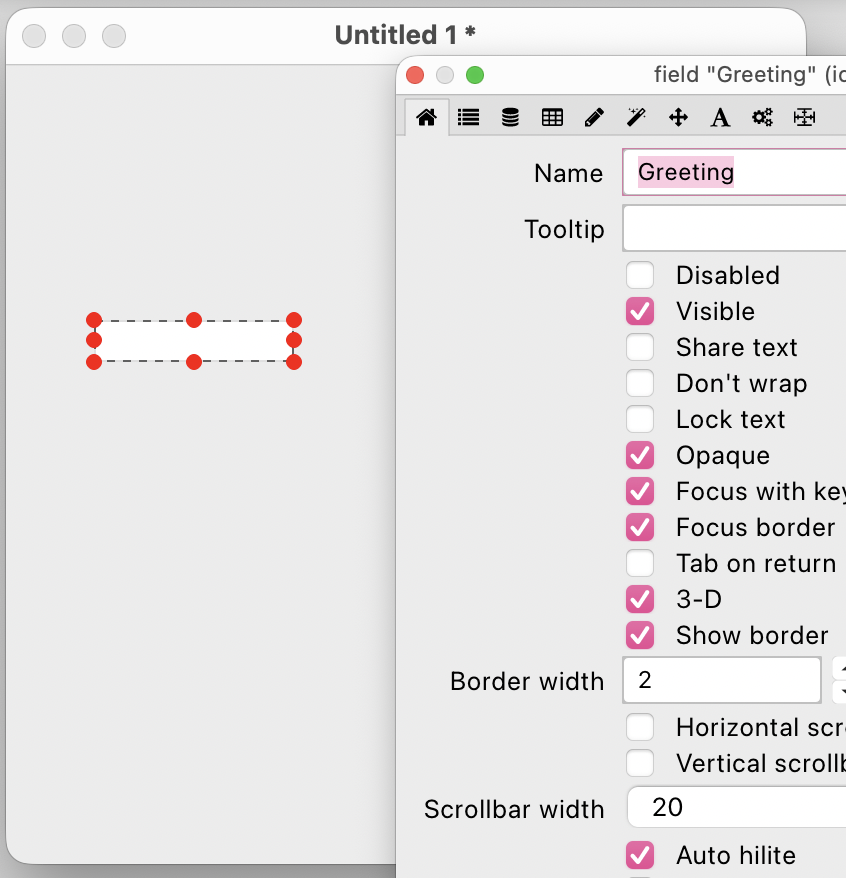 Fig. 2 — Field named "Greeting"
 -
Go to Object → New Button. Drag it below the field. Name it
Greetand set its label toSay Hello!: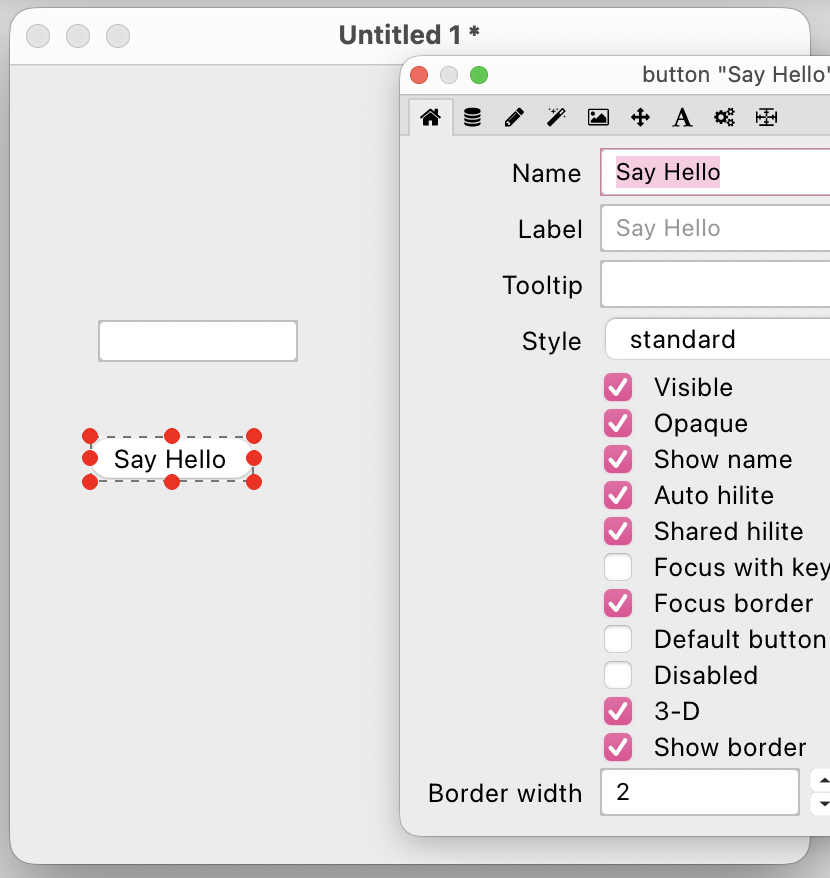 Fig. 3 — Field and button
 -
Right-click the button and choose Edit Script. Type the script from the example above and click Apply:
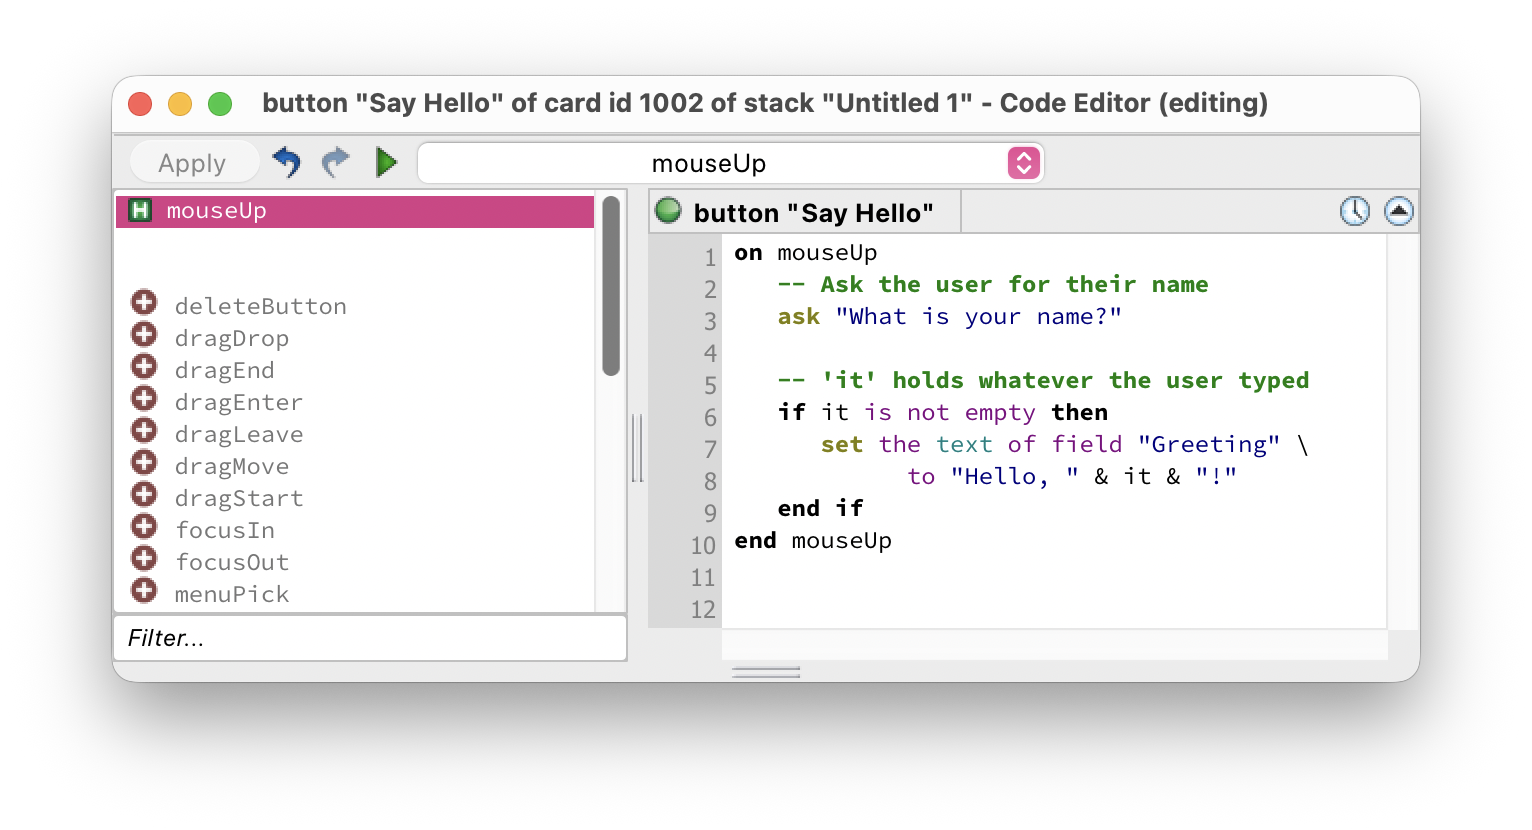 Fig. 4 — Script Editor
 -
Switch to Browse mode (
Cmd+9on macOS,Ctrl+9on Windows/Linux) and click your button. Type your name in the dialog: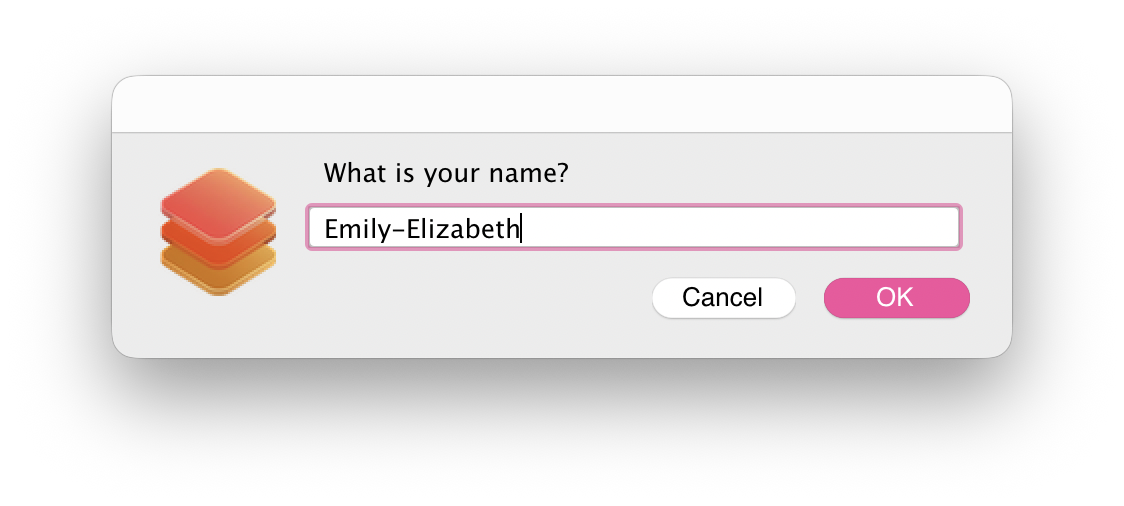 Fig. 5 — Ask dialog
 -
Click OK — your greeting appears in the field!
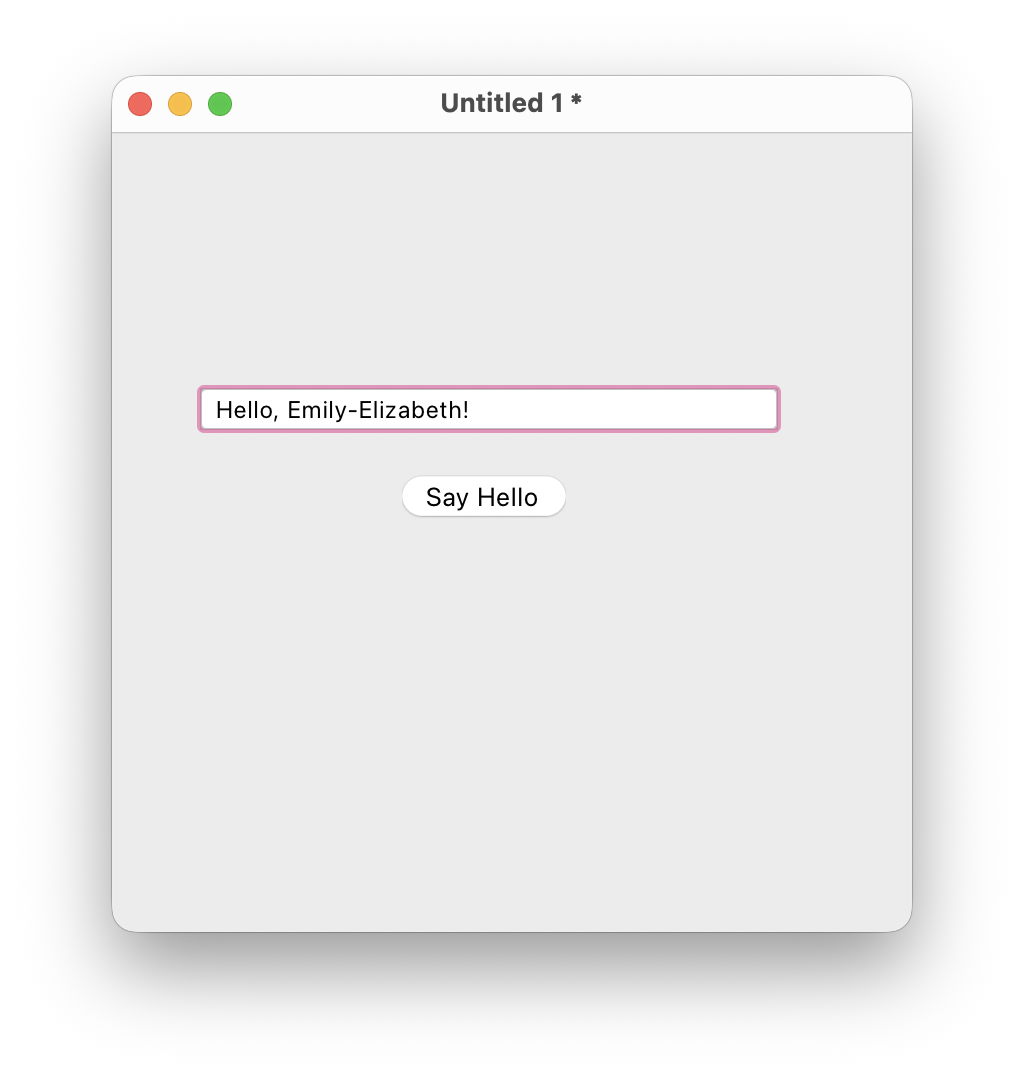 Fig. 6 — Finished!
Bonus challenge: Can you modify the script to also show the current time in the greeting? Hint: the time returns the current time as text.
.hyperxtalk file extension.mouseUp is sent when the mouse button is released over a control. This is the most common message used to trigger button actions.ask dialog?it automatically holds whatever the user typed in an ask dialog.& operator joins (concatenates) pieces of text. For example: "Hello, " & "World" produces Hello, World.